

This guide will help you Install web DVWA on Hyper V
What is DVWA
Damn Vulnerable Web App (DVWA) is a PHP/MySQL web application that is damn vulnerable. Its main goals are to be an aid for security professionals to test their skills and tools in a legal environment, help web developers better understand the processes of securing web applications and aid teachers/students to teach/learn web application security in a class room environment.
I’m going to install this on a HyperV host. Basically on my own computer with hyperv manager installed. Just like I did with the Juice Shop . If you did the juice shop installation on the Hyperv then you will notice the beginning is the same.
Download Ubuntu here Get Ubuntu Server | Download | Ubuntu
HyperV Installation
I presume you know how to install HyperV on your machine. If not then follow the guide written by Microsoft to activate HyperV on your machine Enable Hyper-V on Windows 10 | Microsoft Docs
Once done start the HyperV console
Create a virtual switch
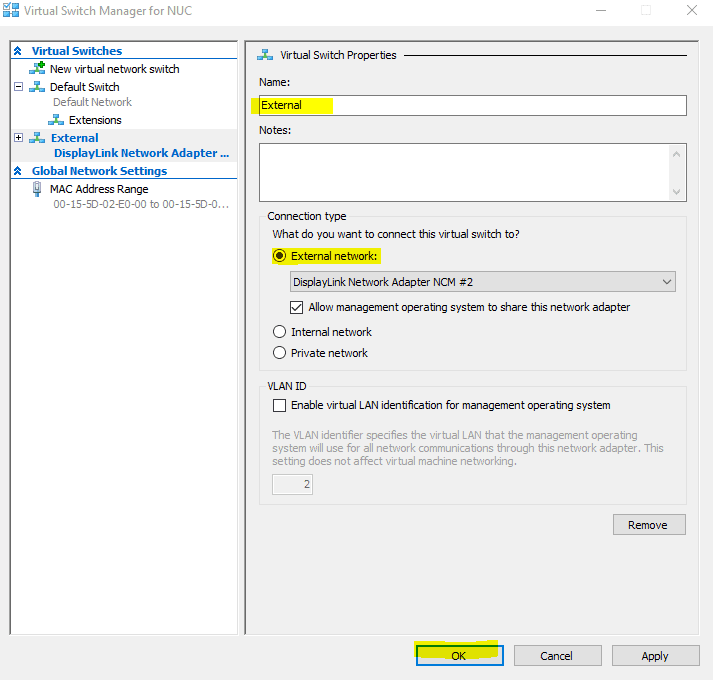
Inside the console on the right side click on Virtual Switch Manager and create a new External Switch. Just call it external
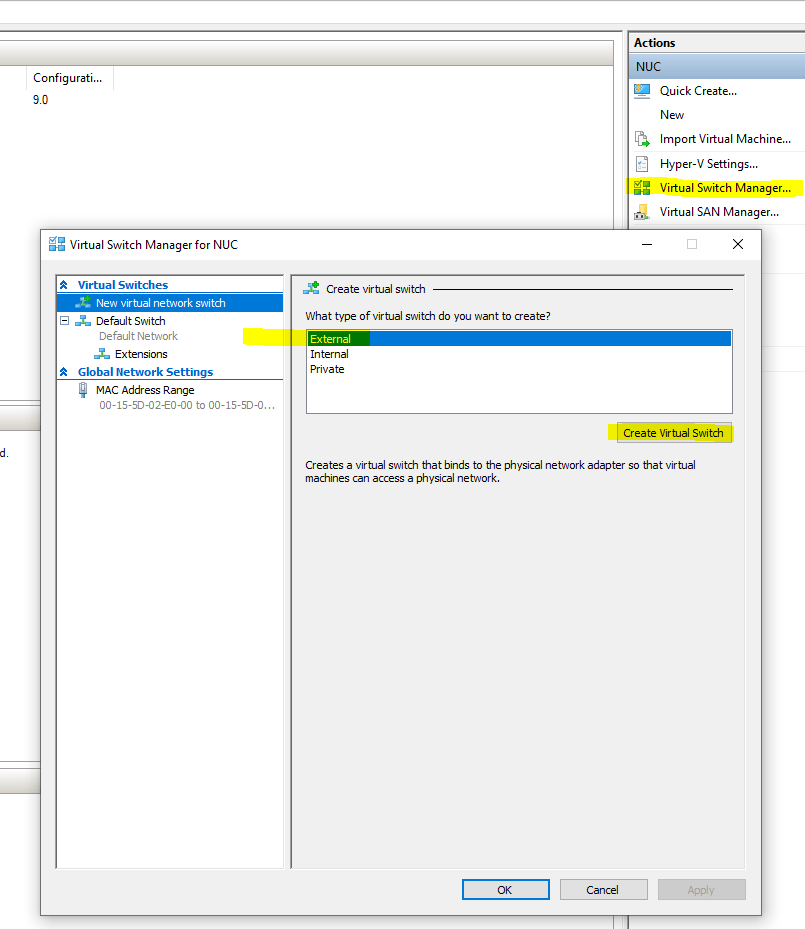
Connect it to the right NIC and press Ok
I’m choosing for an external switch because My kali machine is on an other laptop. This way it is available for the entire network
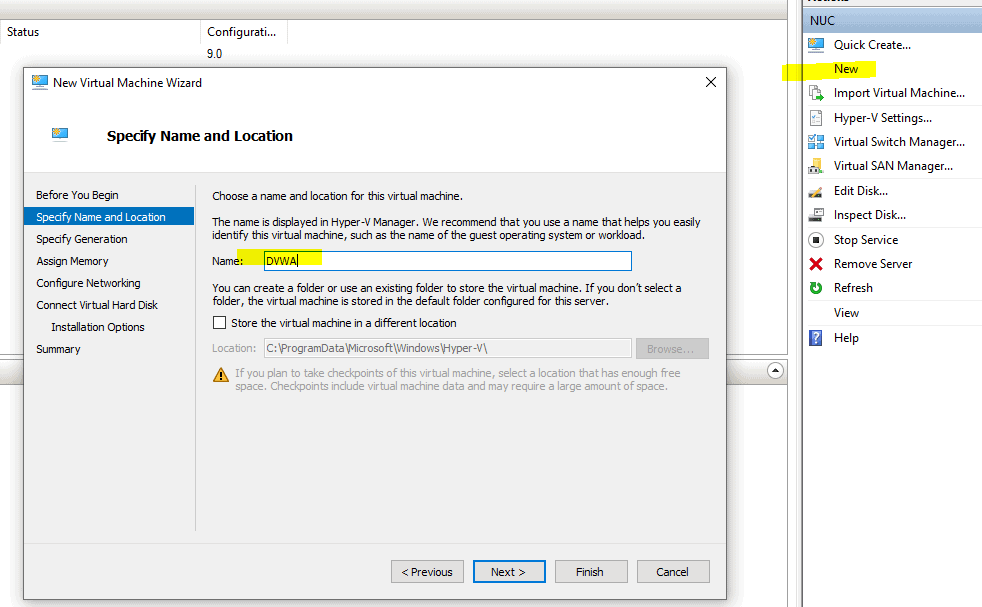
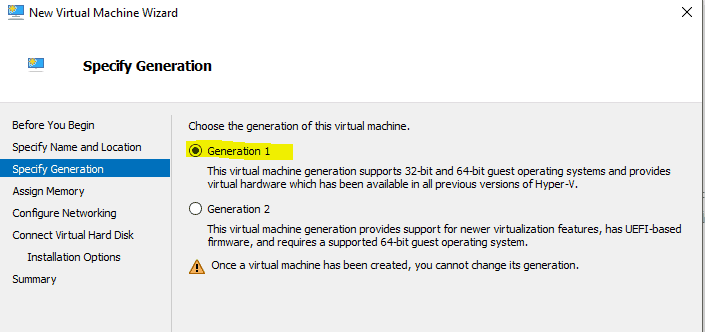
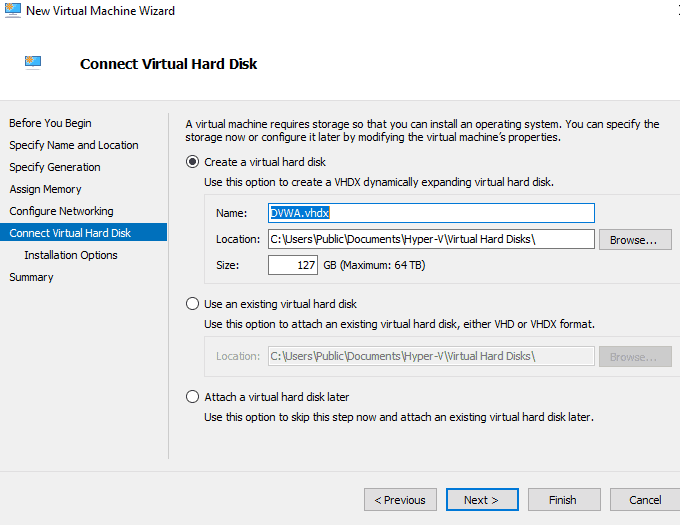
Creating an VM
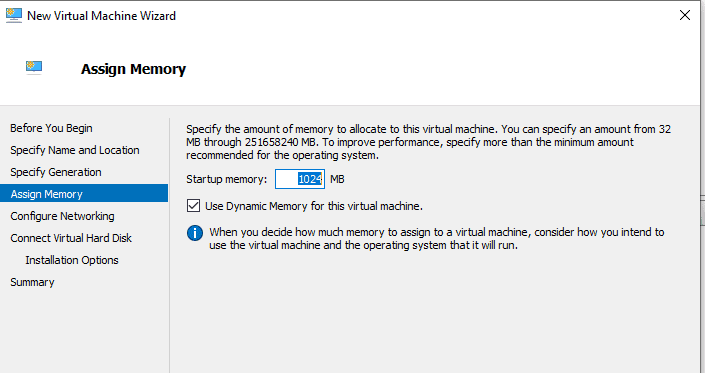
Make sure you turn on Dynamic memory. If it needs more and there is more it will take more
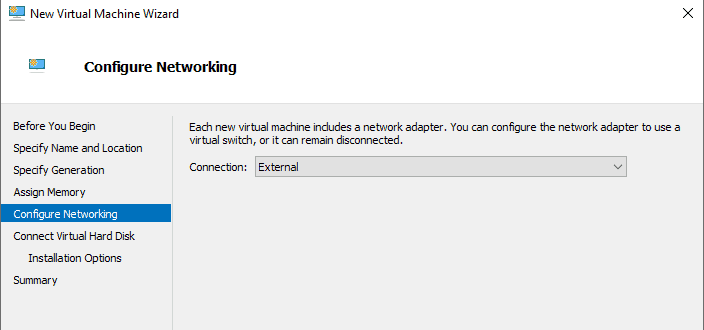
Select the network we just added
Click next
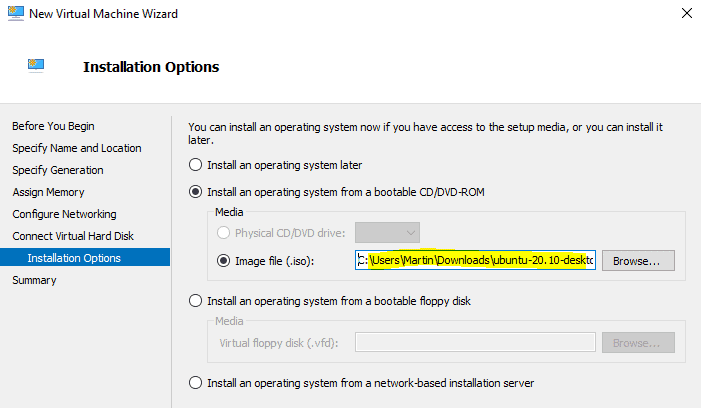
Select the downloaded ISO and click next then finish. Make sure you have the server version
You now have a VM. Right click on it and select connect. Now press start and select UBUNTU to start the installation
Installing UBUNTU server
Start from CD if not already configured. Select server

Select the language
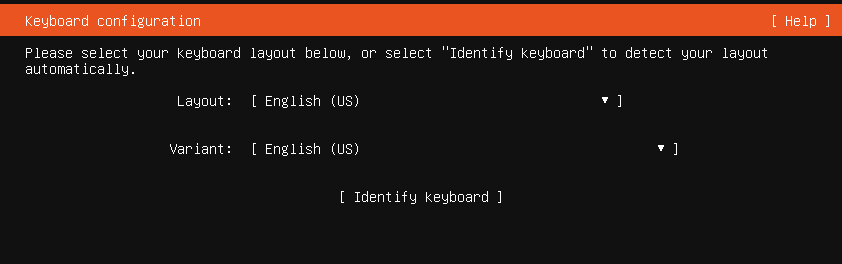
Select Keyboard
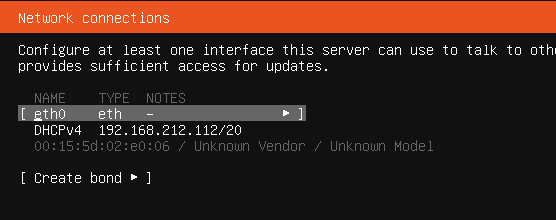
Select IPv4 and then automatic if no network is found
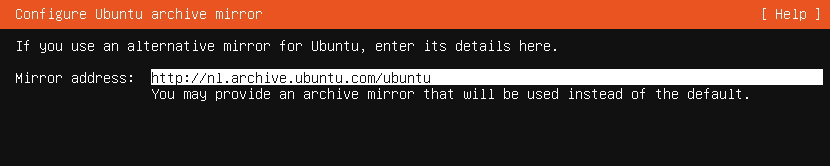
Configure mirror or accept the default
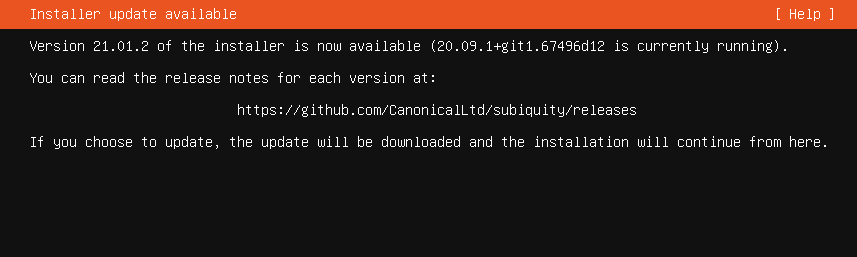
Update to the new installer ( Always update )

Accept defaults
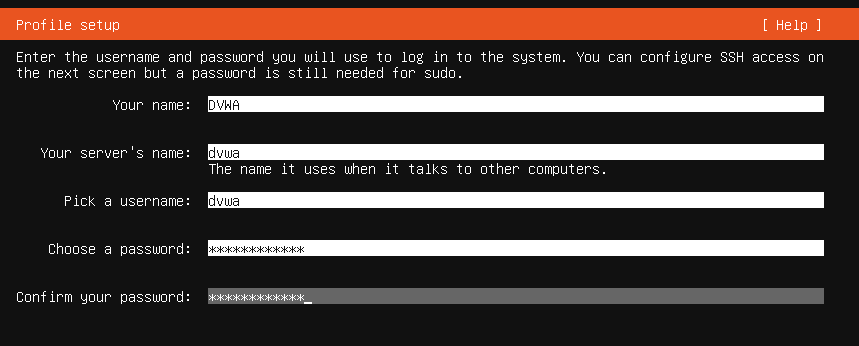
Fill in the information needed to continue
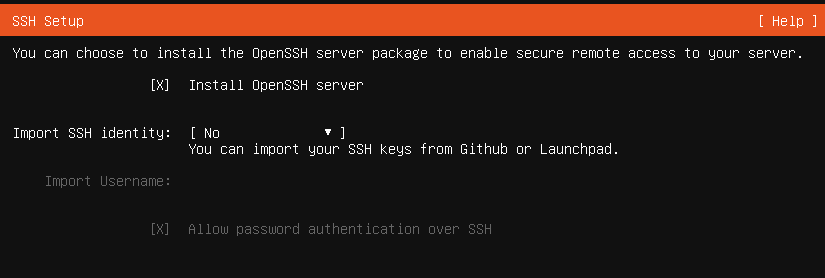
For ssh acces to the server you can select install openSSH server
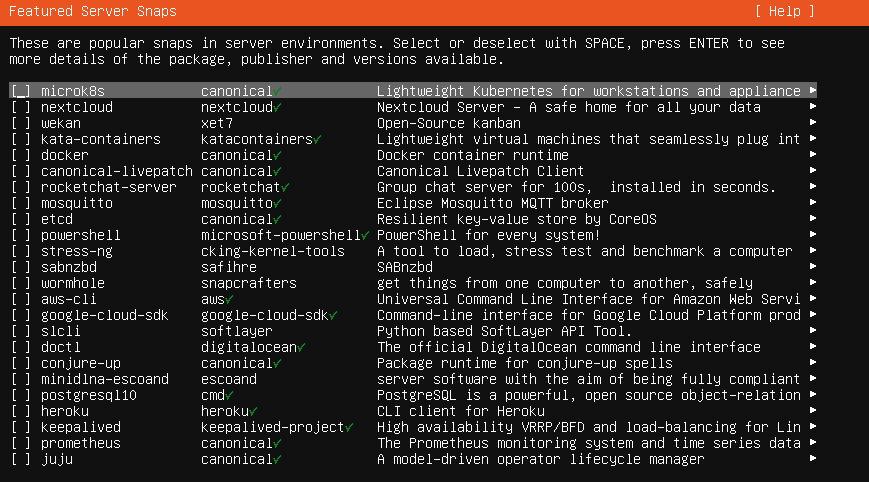
Do not select anything and move on to finish the installation
Installing web DVWA
Now for the fun part. Log in to the server
Update all with the following command
sudo apt-get update && sudo apt-get upgrade -y && sudo apt-get -y dist-upgrade && sudo apt-get autoremove -y
Once done we are going to install some depencies with the following command
sudo apt-get install php php-gd

sudo apt-get install linux-azure
Configure MySQL
Install the mysql first with the follwoing command
sudo apt-get install mysql-server
sudo apt-get install php-mysql
Now top configure the MYSQL part
sudo mysql -u root
CREATE USER ‘dvwa’@’localhost’;
ALTER USER ‘dvwa’@’localhost’ IDENTIFIED BY ‘p@ssw0rd’;
CREATE DATABASE dvwa;
GRANT ALL PRIVILEGES ON . TO ‘dvwa’@’localhost’;
FLUSH PRIVILEGES;
exit
Download and install DVWA
cd ~
git clone https://github.com/digininja/DVWA.git
sudo mv ./DVWA/ /var/www/dvwa/

sudo chmod 757 -R /var/www/dvwa/hackable/uploads
sudo chmod 757 -R /var/www/config
sudo chmod 757 /var/www/dvwa/external/phpids/0.6/lib/IDS/tmp/phpids_log.txt
sudo cp /var/www/dvwa/config/config.inc.php.dist /var/www/dvwa/config/config.inc.php
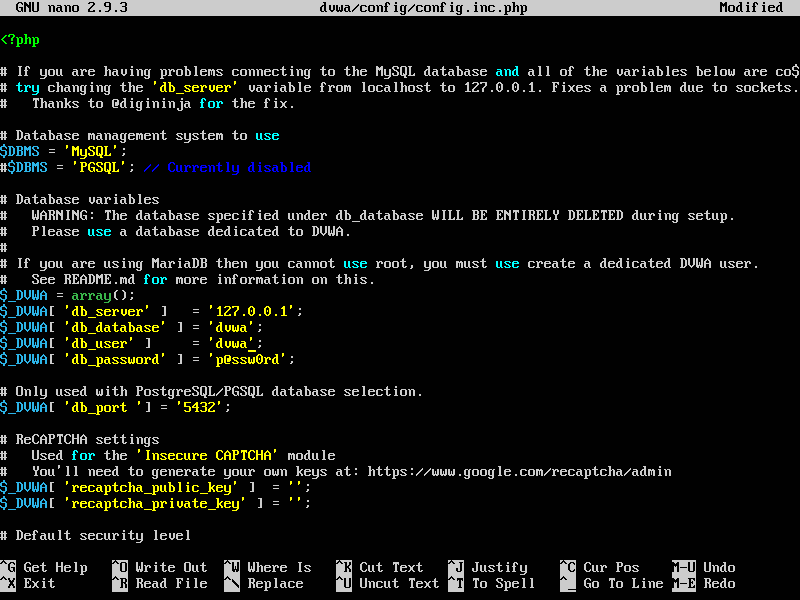
Edit the config file t change the password
sudo nano /var/www/dvwa/config/config.inc.php
Now for the apache part
sudo nano /etc/php/7.4/apache2/php.ini
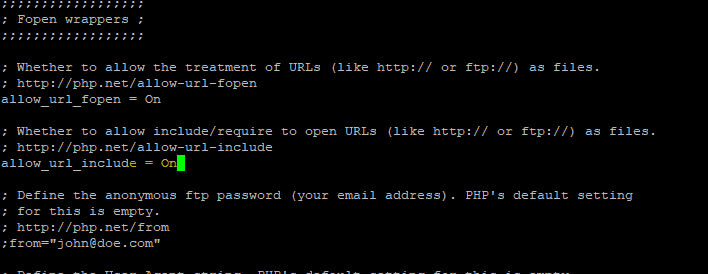
TIP: You can search the file by hitting control+w
Now copy the apache2 default config
sudo cp /etc/apache2/site-available/000-default.conf /etc/apache2/site-available/dvwa.conf
If you get an error not existing then navigate to the directory and copy the default config
sudo cp 000-default.conf dvwa.conf
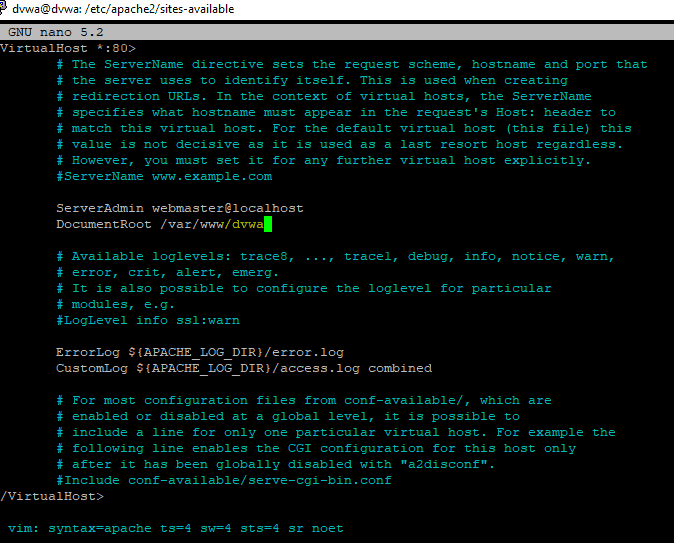
Now edit the dvwa.conf
nano dvwa.conf
Change the document root
sudo nano /etc/apache2/site-available/dvwa.conf
Now restart apache2
systemctl reload apache2
sudo service apache2 restart
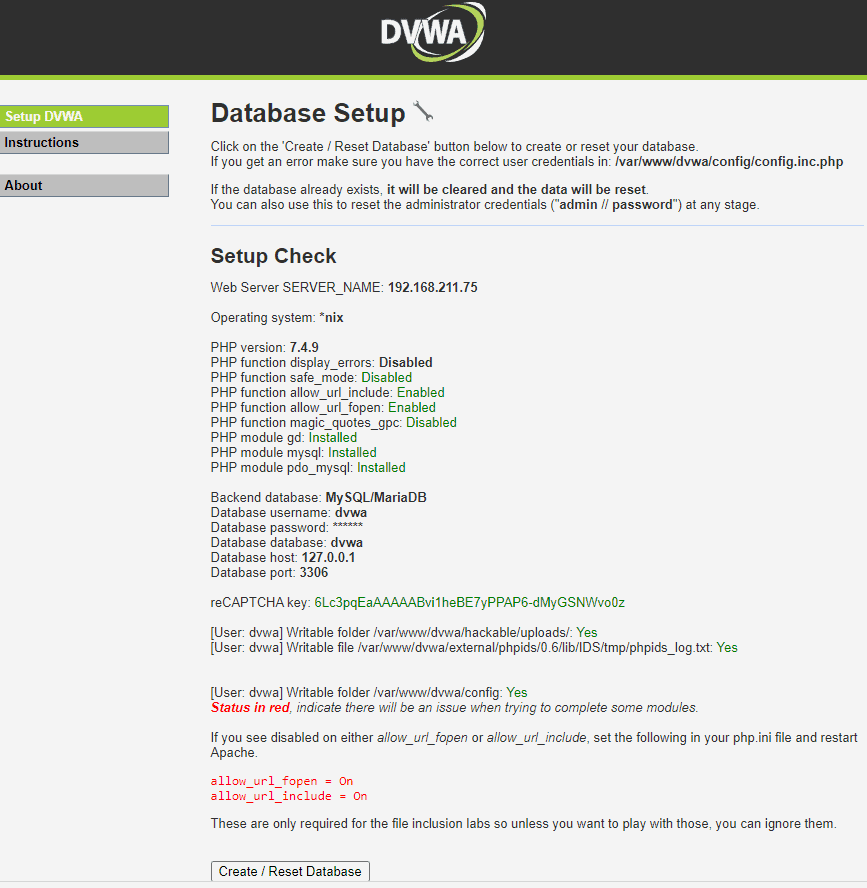
Now navigate with a browser to the IP of the machine
http://MACHINE_IP/setup.php
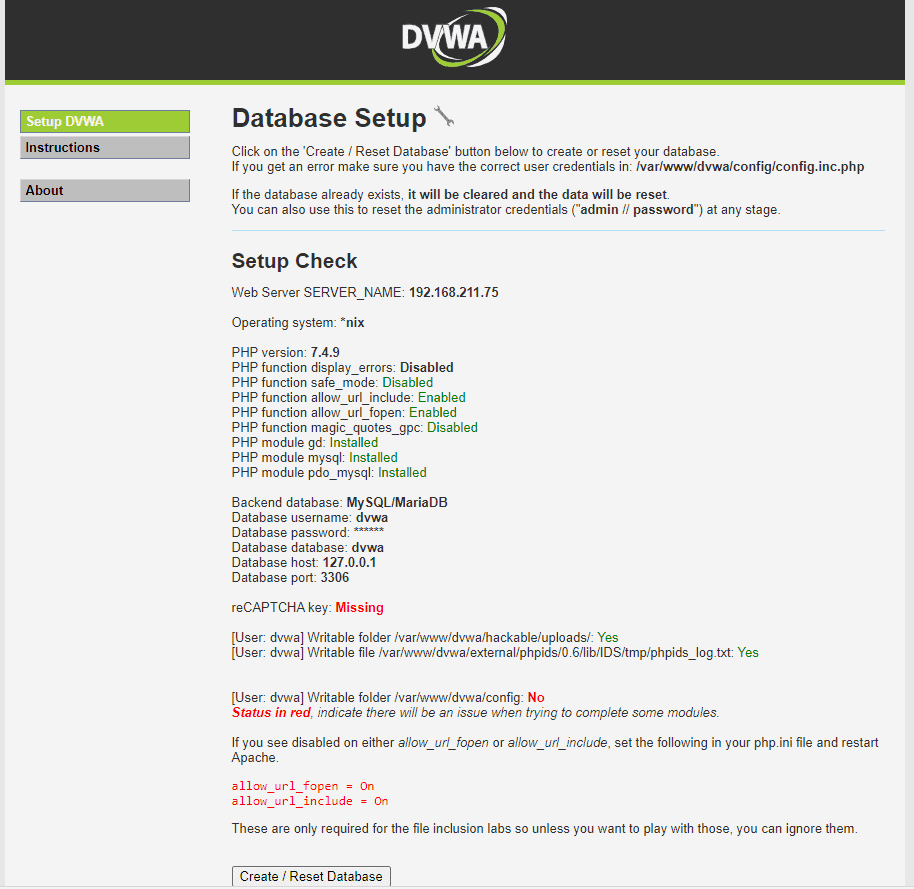
There are still 2 issues open. Those we can fix but it is not necessary to complete. Let’s see if we can fix them anyway
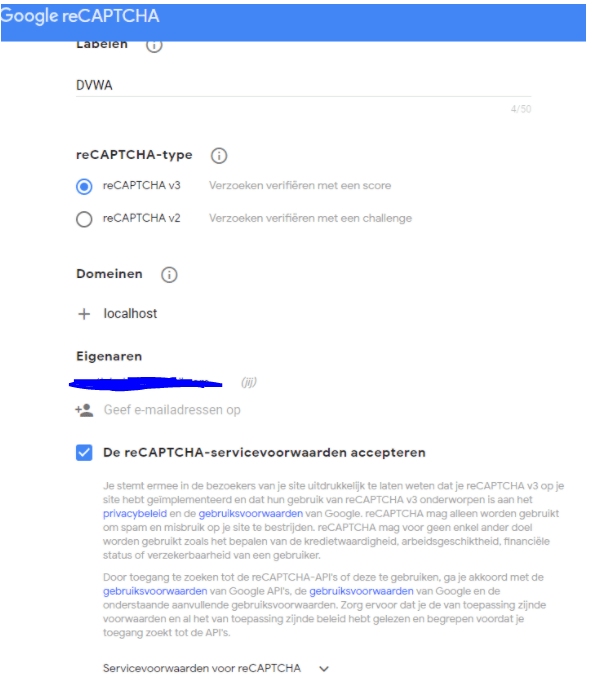
First for the reCAPTCHA. We need to generated the keys and add them to the config
Navigate to reCAPTCHA (google.com) and generate a public and private key
sudo nano /etc/apache2/site-available/dvwa.conf
Now add thos key in the config and save
Now for the last thing to do
sudo chmod 757 -R /var/www/dvwa/config
restart the apache
sudo service apache2 restart
refresh the page
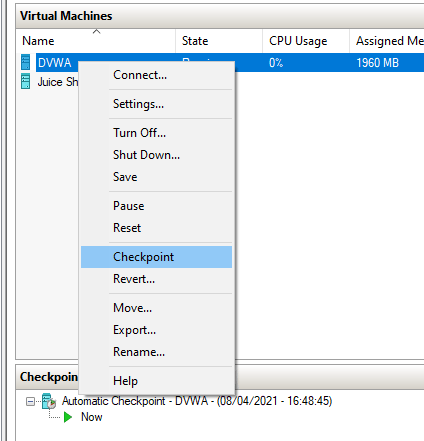
Now create a snapshot in Hyperv manager so you can always revert to this configuration
Have fun exploiting the DVWA. I will create some writeups when I get to it


